Implementing Approval Processes in Power Automate
All articles from this blog can ONLY be redistributed on an Attribution-NonCommercial-NoDerivs basis. Please credit the source, thank you.
Twitter:@kelvinshen
Blog:Kelvin Shen's Blog
Implementing Approval Processes in Power Automate: A Comparative Analysis
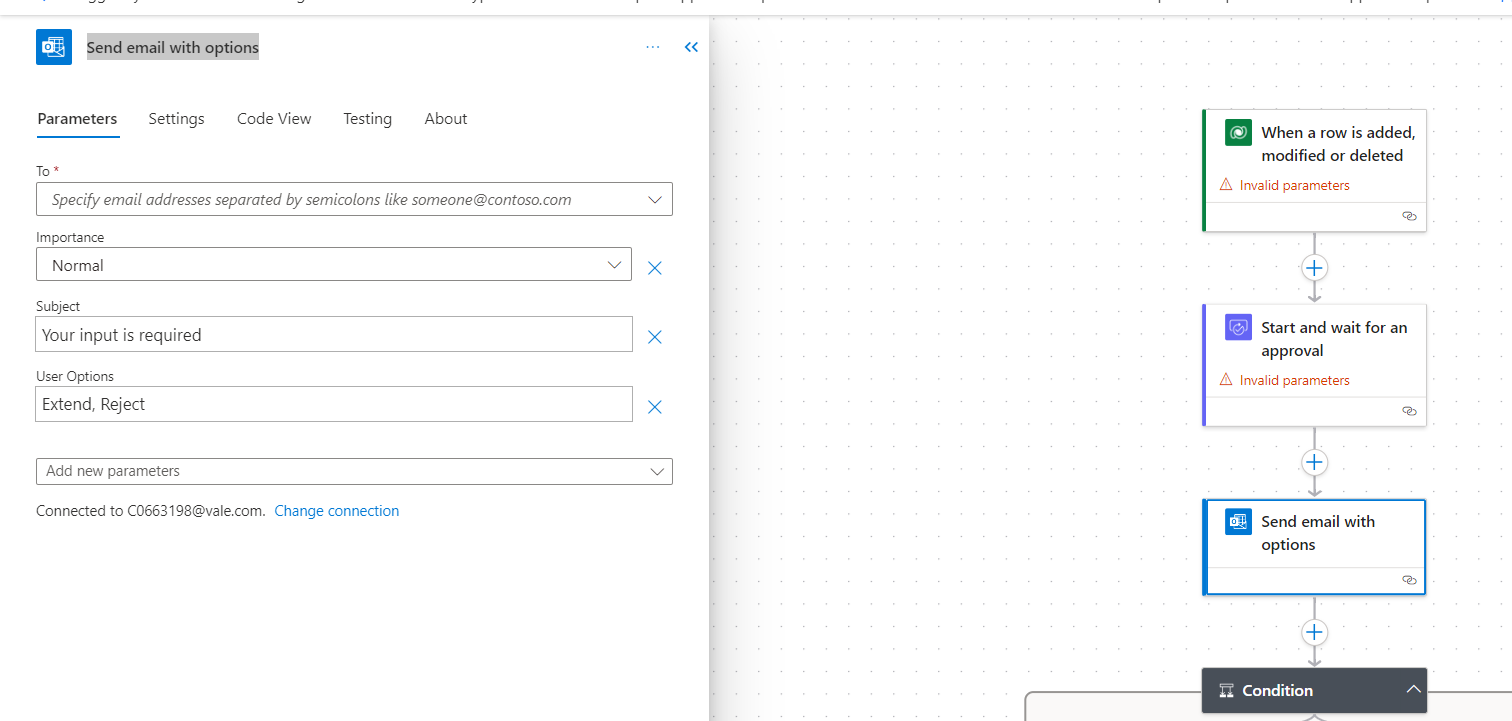
When designing automated workflows for processes that require human intervention or decision-making, approvals are an integral component. Microsoft’s Power Automate offers a flexible mechanism to handle these approval scenarios. In this article, we’ll compare two prevalent methods for setting up approvals: the “Send email with options” and “Start and wait for an approval”.
Comparative Table: Send email with options vs Start and wait for an approval
| Criteria | Send email with options | Start and wait for an approval |
|---|---|---|
| Purpose | Informal approval mechanism through email choices. | Structured and tracked approval mechanism. |
| Behavior | Sends an email with pre-defined choices. | Sends a request to Power Automate’s Approval Center. |
| Features | - Direct interaction from email - Simple feedback |
- Formal approval process - Log and track all decisions - Set up reminders for pending approvals - Handle advanced scenarios with conditions |
| Use Case | Quick decisions without the need for tracking. | Formal processes that require audit trails or advanced scenarios. |
| Licensing | Standard connector licensing. | Premium Power Automate licensing. |
| Connector Permissions | Send emails using the Office 365 Outlook connector. | Create and track approval requests in Power Automate’s Approval Center. |
Real-life Example: Portal Access Extension Request
Imagine an organization that provides its partners access to a specialized portal. By default, access to this portal expires after a year. If a partner wants to extend their access, they must request an extension.
Using “Send email with options”:
- Scenario: A partner’s access is about to expire, and they request an extension.
- Flow Action: The system triggers an email to an internal admin with the options “Extend Access” or “Deny Request”.
- Outcome:
- If the admin chooses “Extend Access”, the partner’s access is extended.
- If “Deny Request” is chosen, the partner is notified, and their access will expire as scheduled.
- Auditing: Cannot capture the voters at all
Using “Start and wait for an approval”:
- Scenario: Similar to the above, a partner’s access is nearing expiration and they request an extension.
- Flow Action: An approval request is sent to the internal admin via Power Automate’s Approval Center.
- Outcome:
- If approved, the partner’s access is extended, and a record of this decision is logged.
- If denied, the partner is notified, and an entry of the denial is logged for future reference.
- If the admin does not respond within a certain period, a reminder is sent to ensure action is taken.
- Auditing: It can capture the voters, but the information is only available in the Approval Center and flow execution logs, but not in CRM.
Using “An embeded email link back in CRM to approve”:
- Auditing: It can capture the voters as part of the CRM audit history.
One Button Approval
The approval request will only have one button to approve, i.e. no reject button. Rather we will use time-out to reject the request.
In Conclusion:
Both methods have their own merits. “Send email with options” offers a quick and straightforward approach, especially when detailed record-keeping isn’t crucial. On the other hand, “Start and wait for an approval” offers a structured approval mechanism suitable for organizations that require audit trails or more complex approval scenarios.
When deciding between the two, it’s essential to assess the level of formality, tracking, licensing considerations, and specific organizational needs to choose the best-fit solution.